API Integration
How to Integrate custom API?
Please follow the below steps to make the custom API working.
-
Let's assume that our API's URL is
"https://jsonplaceholder.typicode.com/posts". First we have to add this URL in
/src/app/global-component.tsfile... export const GlobalComponent = { // Api Calling API_URL : 'http://127.0.0.1:3000/', headerToken : {'Authorization': `Bearer ${localStorage.getItem('token')}`}, // Auth Api AUTH_API:"http://127.0.0.1:3000/auth/", // Products Api product:'apps/product', productDelete:'apps/product/', // Orders Api order:'apps/order', orderId:'apps/order/', // Customers Api customer:'apps/customer', }; -
Whatever methods you want to use, import it
import { GlobalComponent } from "../../global-component";and add below function insrc/app/core/services/rest-api.service.tsfile. We have created new function getDemoData and exported it so it can be used in another files.import { GlobalComponent } from "../../global-component"; import { Injectable } from '@angular/core'; import { HttpClient, HttpHeaders } from '@angular/common/http'; import { Observable } from 'rxjs'; const httpOptions = { headers: new HttpHeaders({ 'Content-Type': 'application/json', 'Authorization': `Bearer ${localStorage.getItem('token')}` }) }; export class restApiService { ... } -
let's setup auth middleware with api.
to setup middleware change below code in
src/app/core/service/auth.service.ts.this will check user is authenticated or not.import { Injectable } from '@angular/core'; import { getFirebaseBackend } from '../../authUtils'; import { User } from '../models/auth.models'; import { HttpClient, HttpHeaders } from '@angular/common/http'; import { BehaviorSubject, Observable } from 'rxjs'; import { GlobalComponent } from "../../global-component"; const AUTH_API = GlobalComponent.AUTH_API; const httpOptions = { headers: new HttpHeaders({ 'Content-Type': 'application/json' }) }; export class AuthenticationService { register(email: string, first_name: string, password: string) { return this.http.post(AUTH_API + 'signup', { email, first_name, password, }, httpOptions); } } -
Now set post method api for signup with below function
import { AuthenticationService } from '../../core/services/auth.service'; constructor(private authenticationService: AuthenticationService) { } onSubmit() { this.submitted = true; //Register Api this.authenticationService.register(this.f['email'].value, this.f['name'].value, this.f['password'].value).pipe(first()).subscribe( (data: any) => { this.successmsg = true; if (this.successmsg) { this.router.navigate(['/auth/login']); } }, (error: any) => { this.error = error ? error : ''; }); } -
Database setup for Backend api
-MongoDB Compass(option 1)
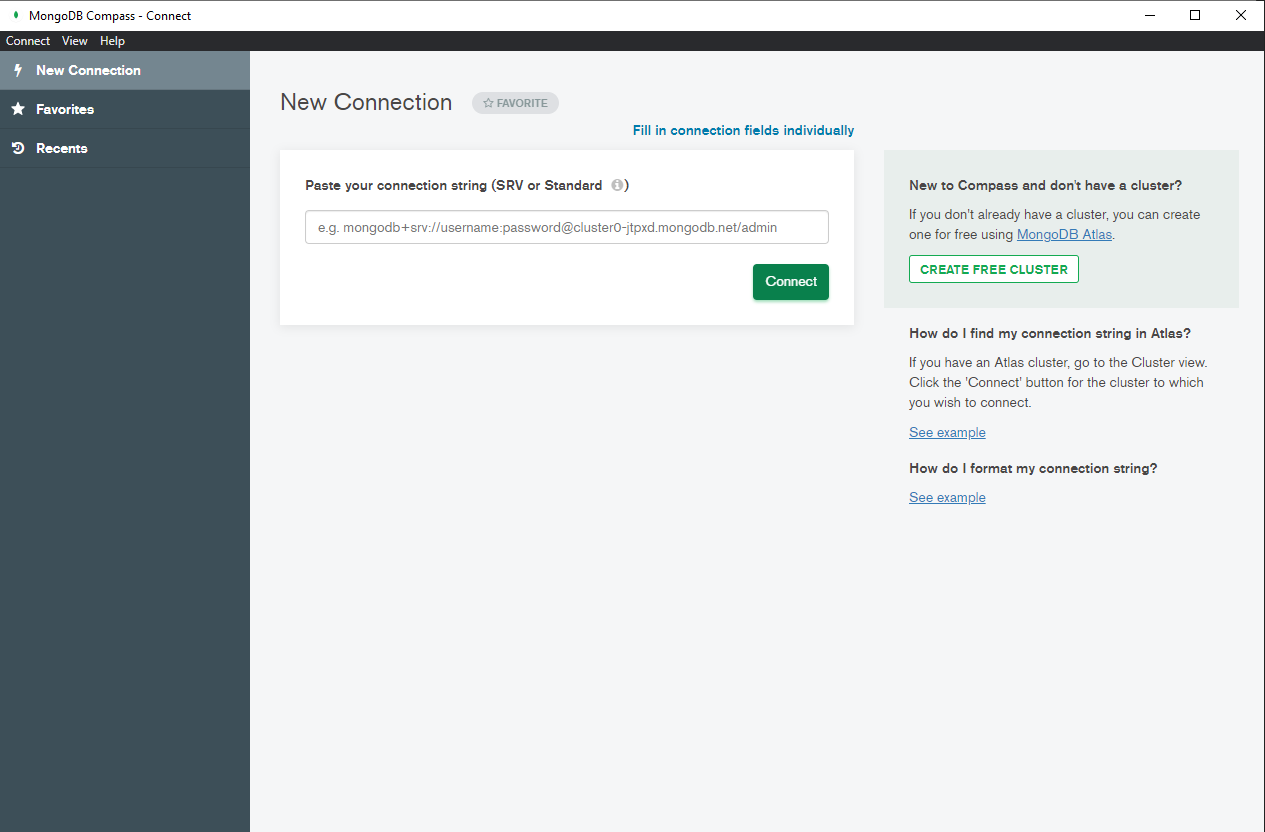
Make sure to have the MongoDB Compass installed & running in your computer. If you already have installed compass on your computer, you can skip this step.
STEP-1: open compass and connect with localhost
-MongoDB Atlas(option 2)
Make sure to have Account in MongoDB Atlas. If you don't have account then create Atlas account and follow below steps to connect with MongoDb Atlas.
STEP-1: Create account
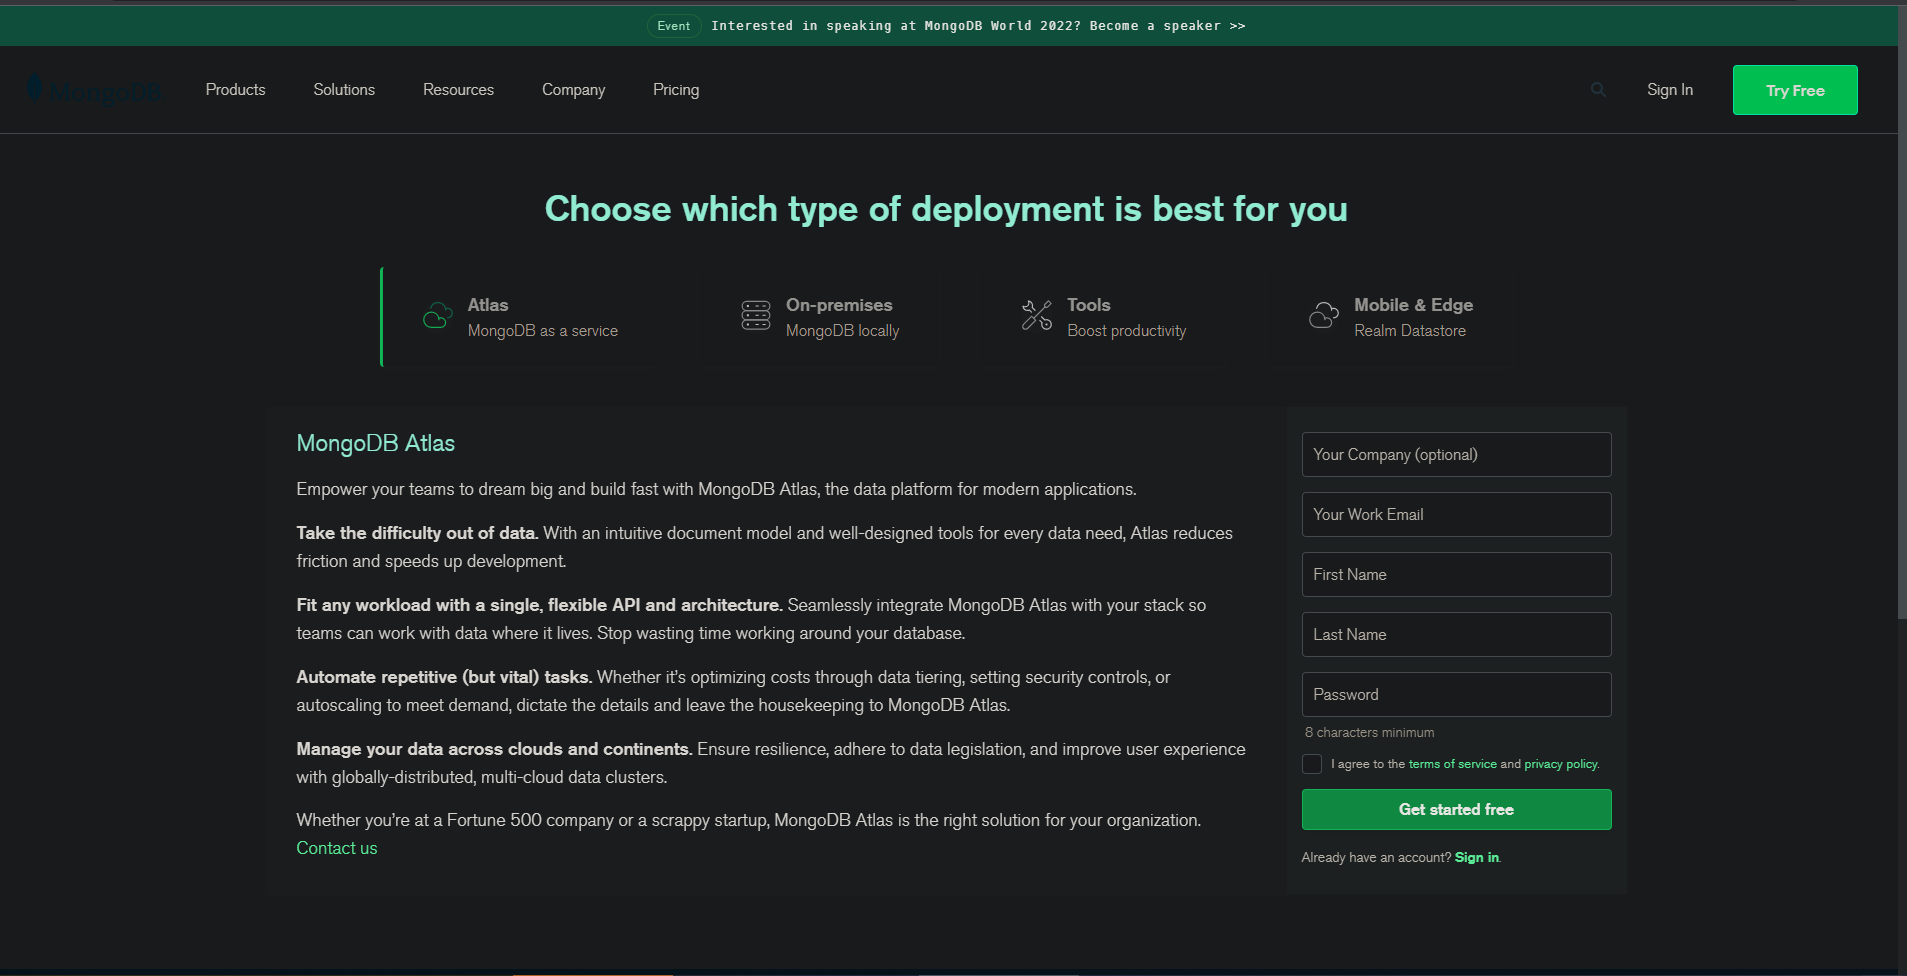
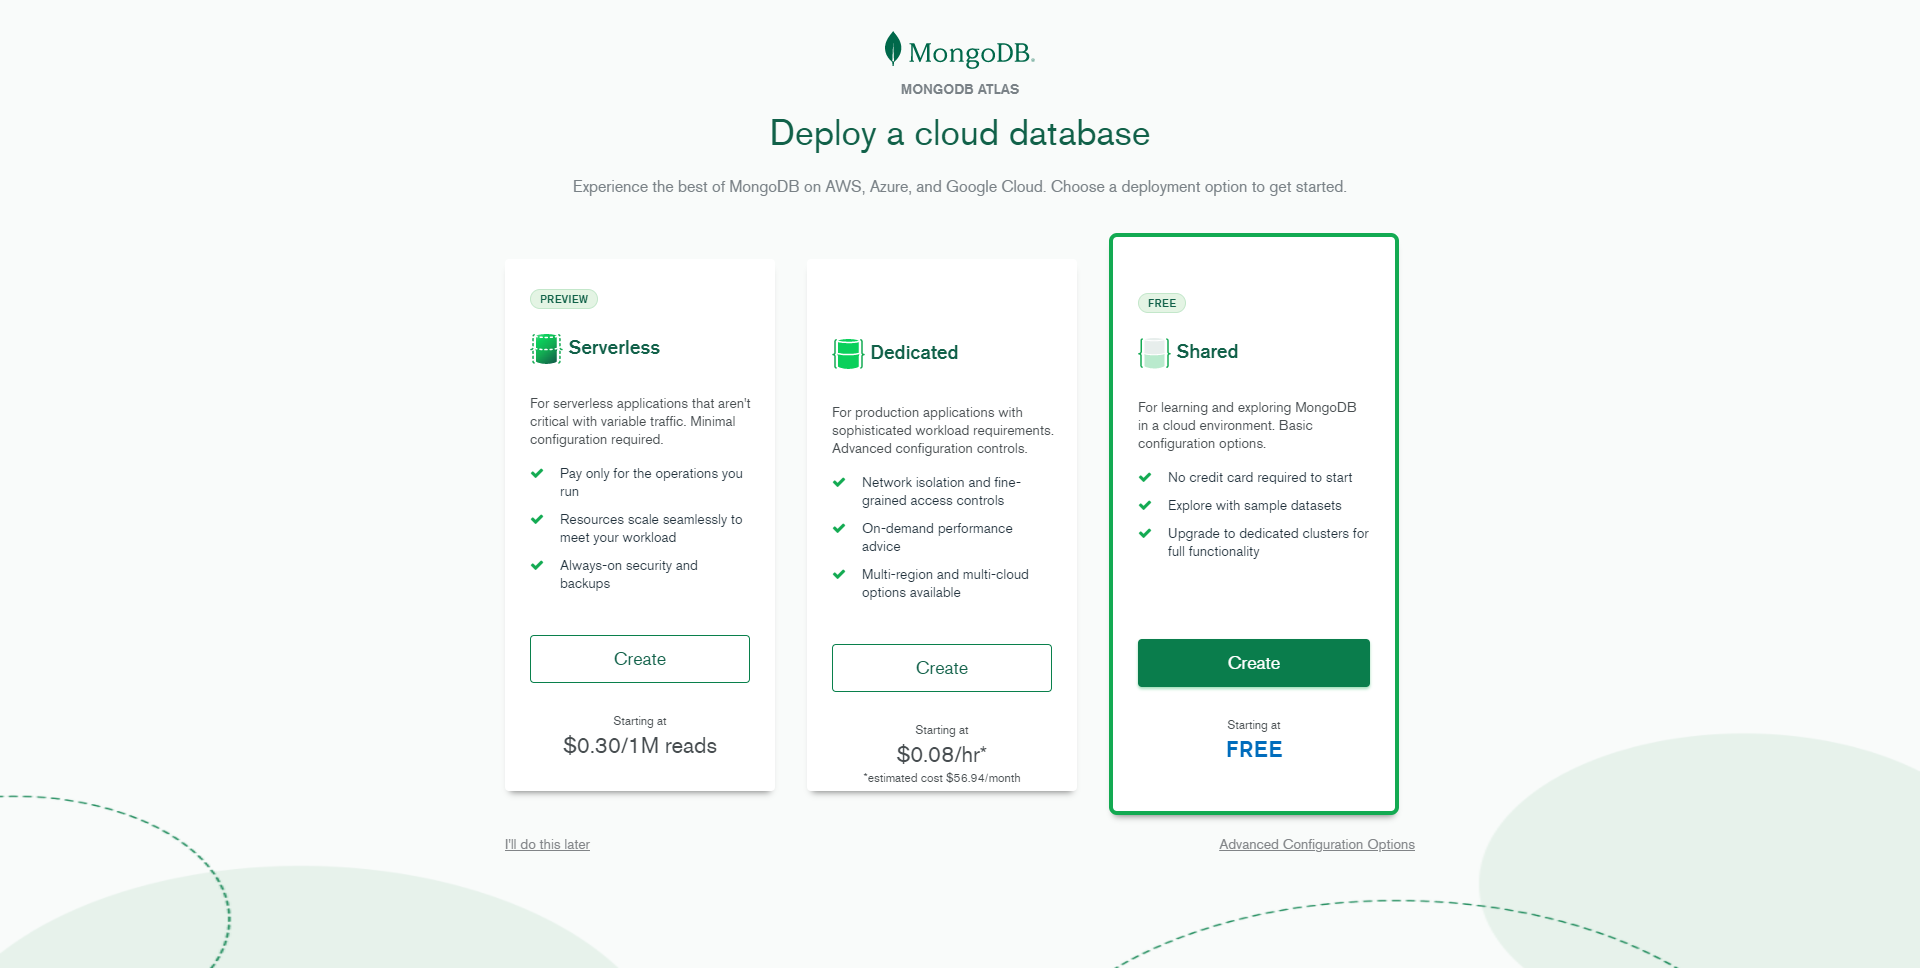
STEP-2: After verifying email click on build Database
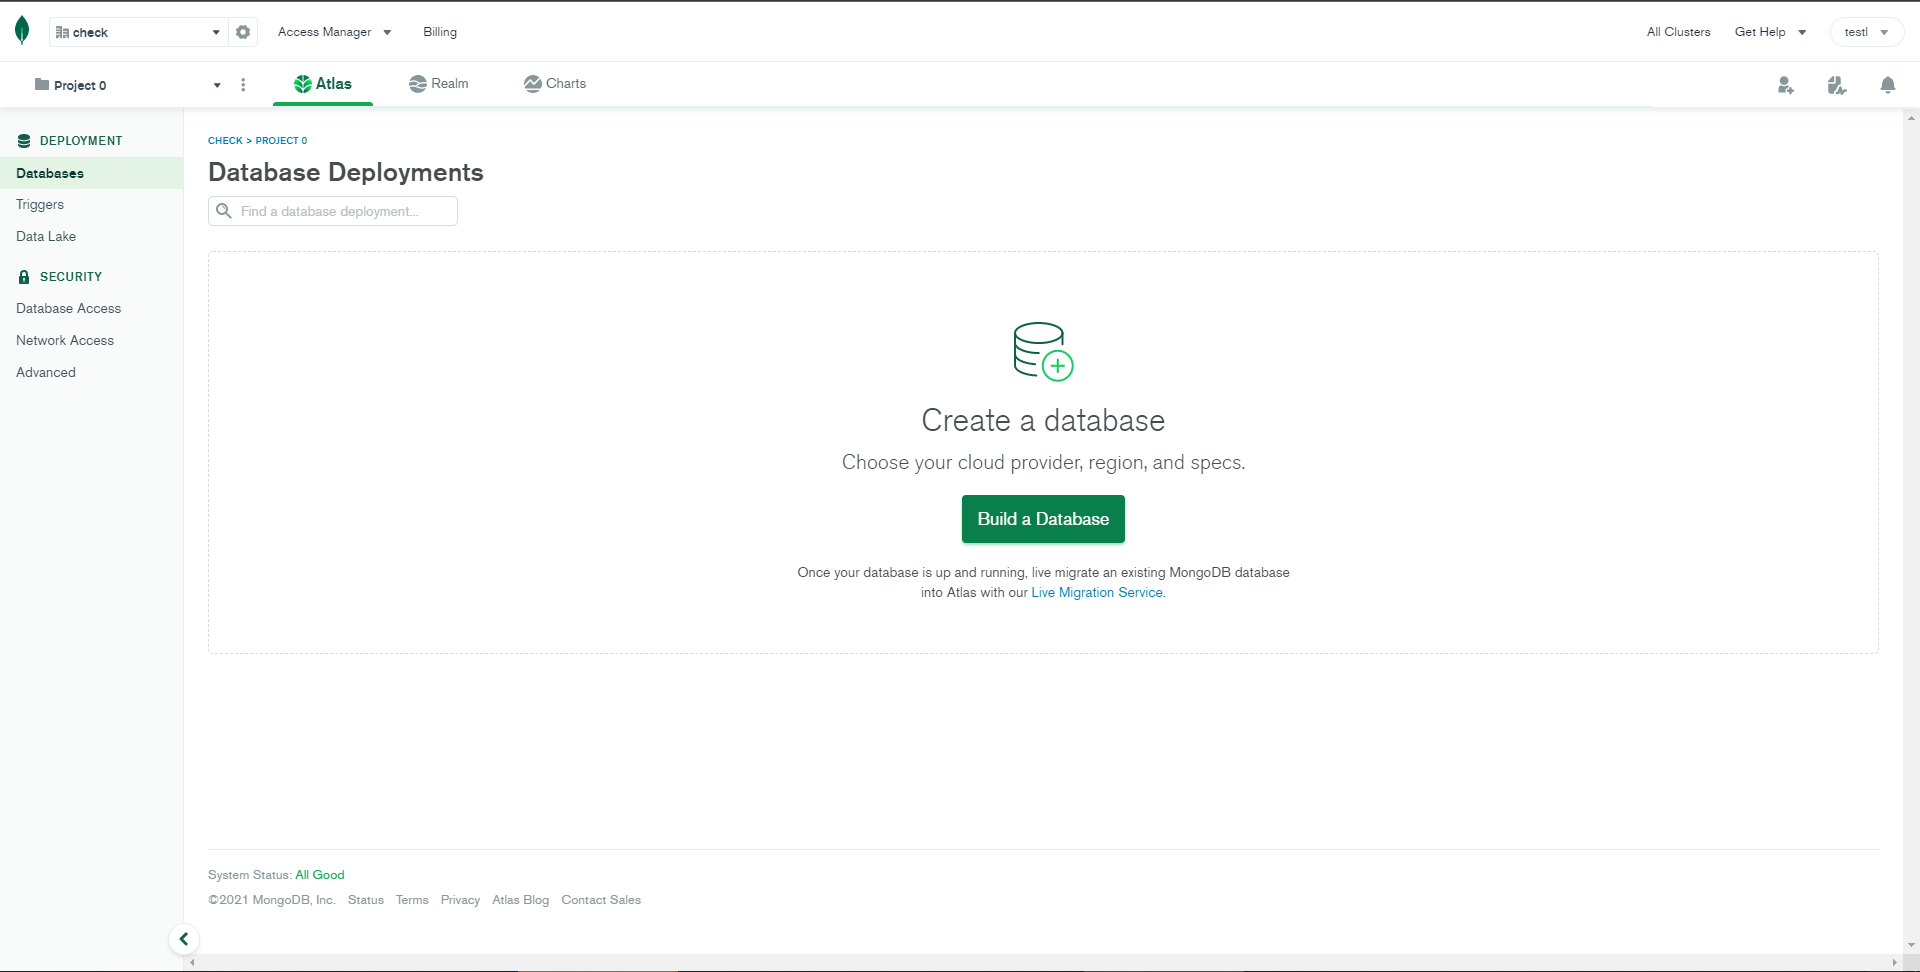
STEP-3: Choose shared database for free...
STEP-4: Click on
create cluster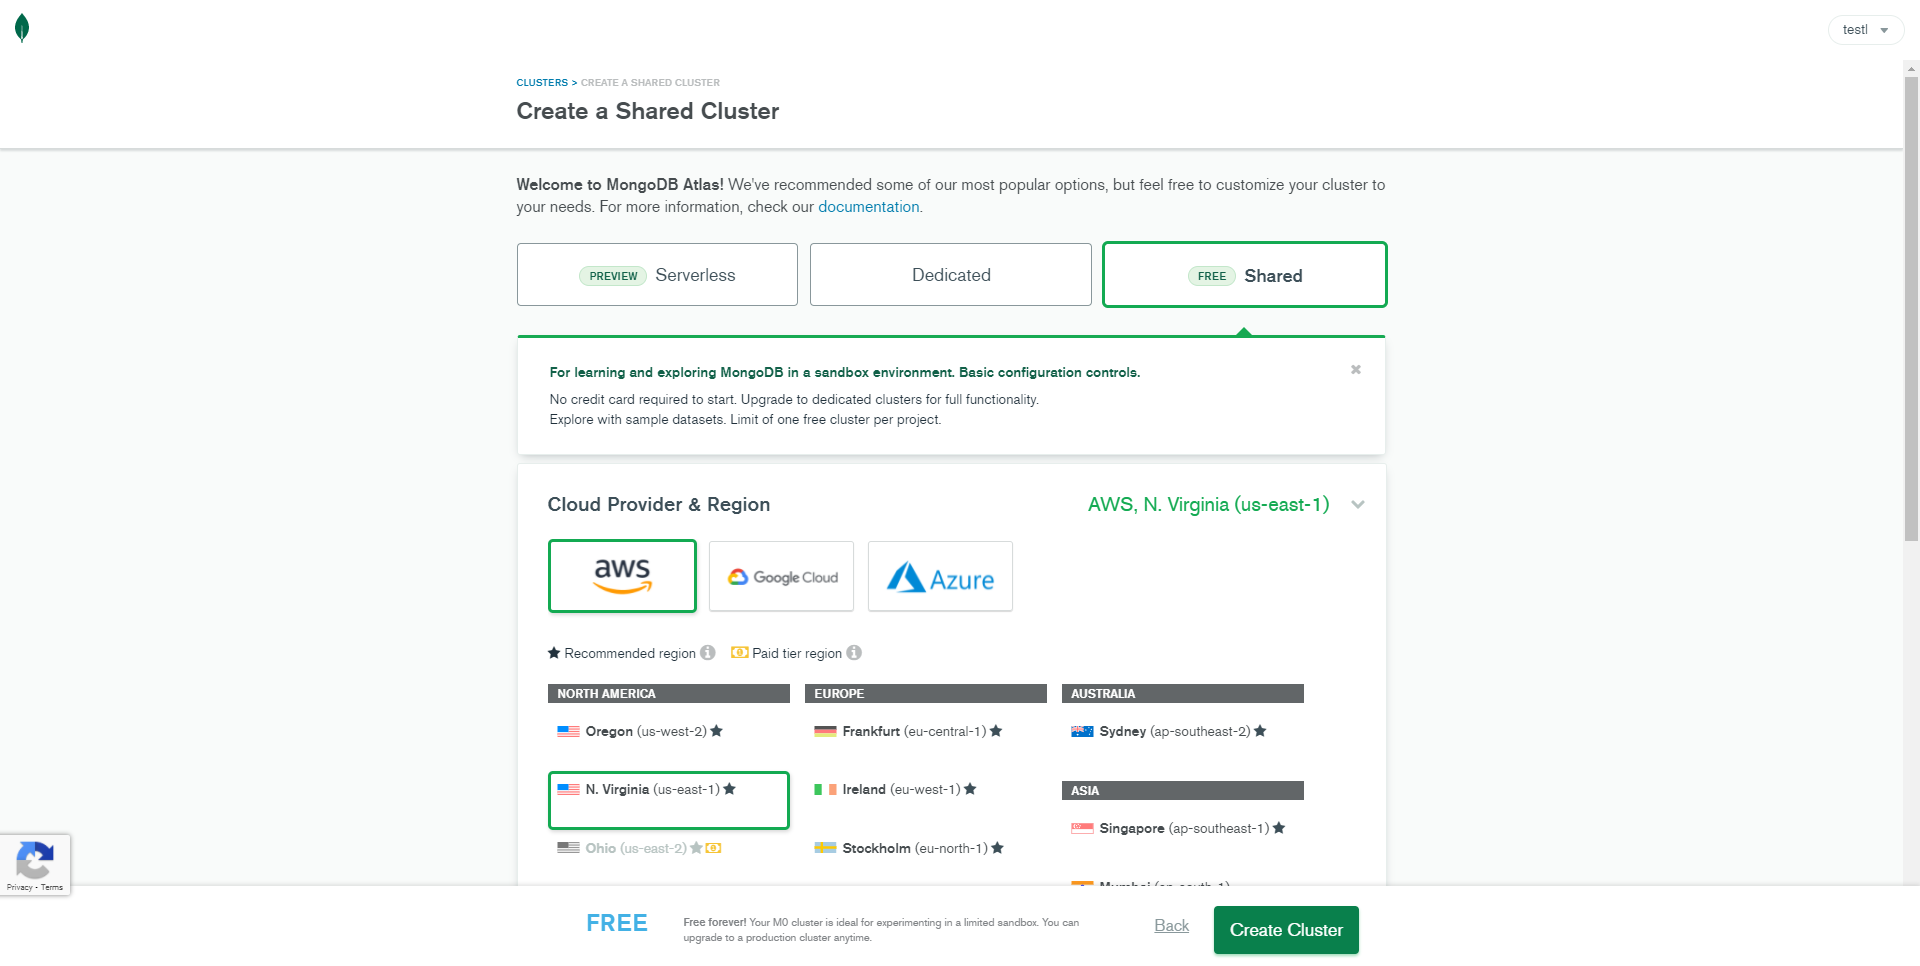
STEP-5: Wait until the process is completed and then click on
connect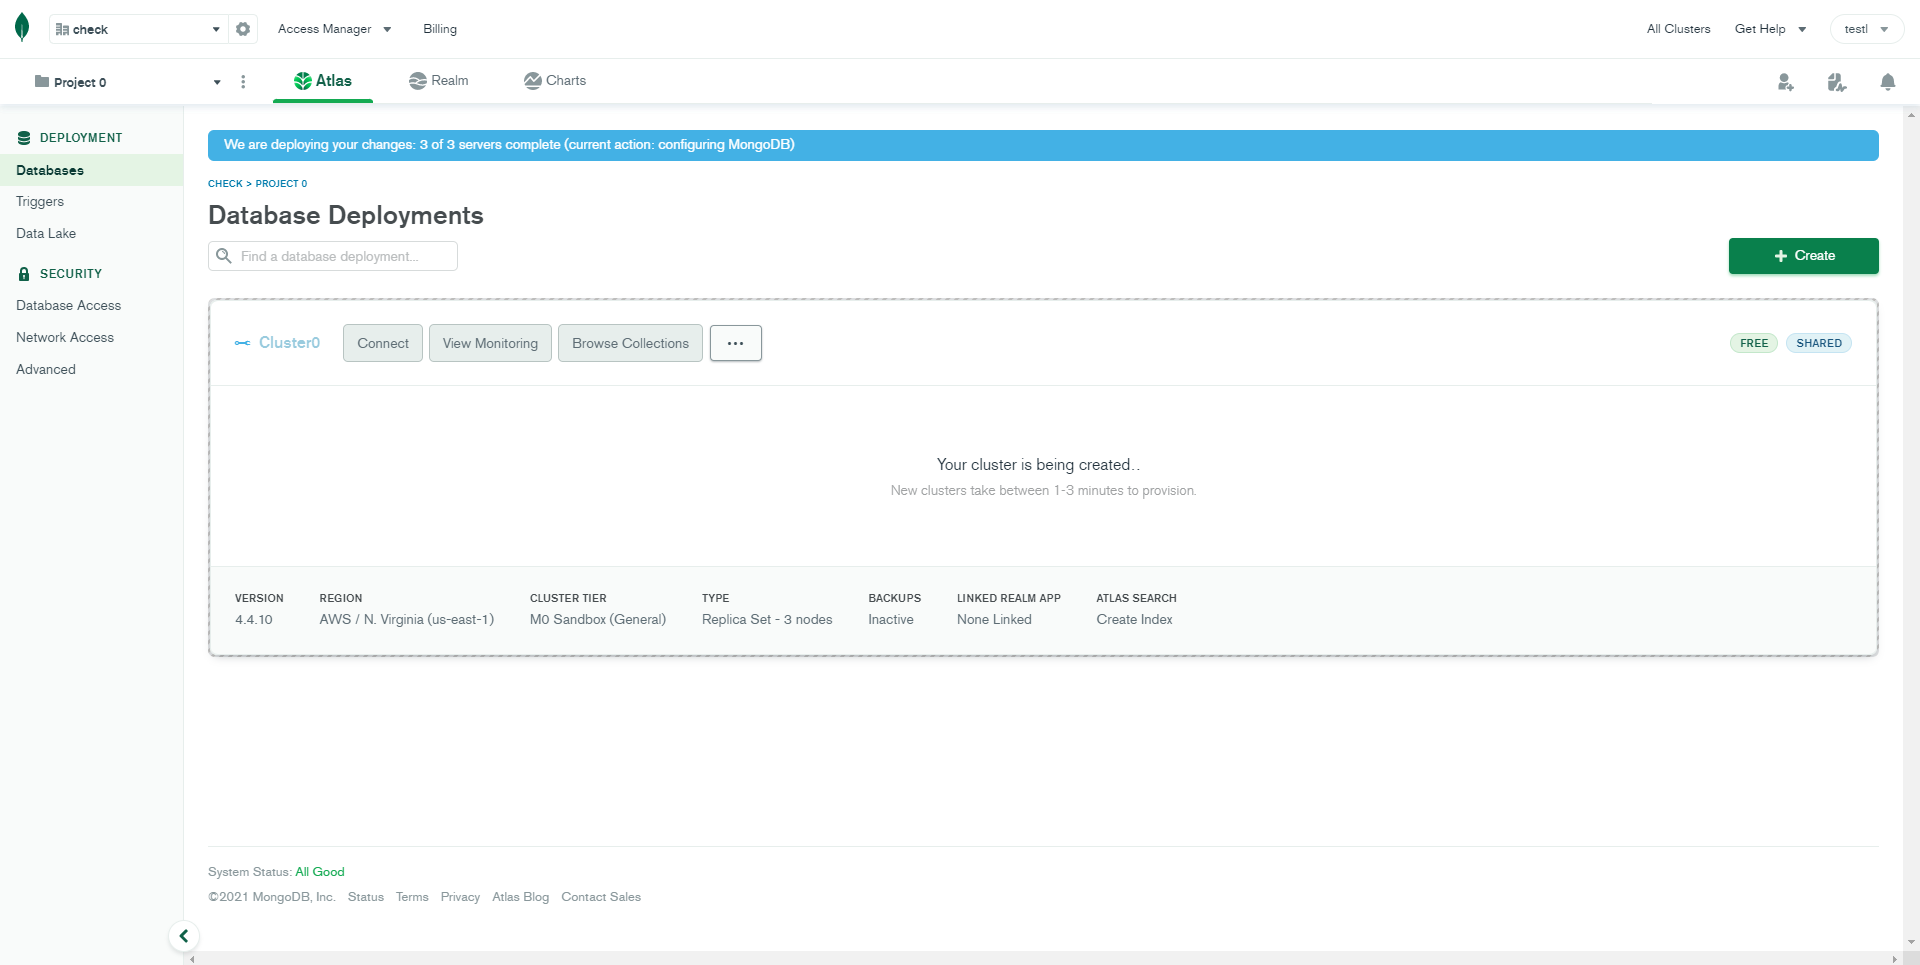
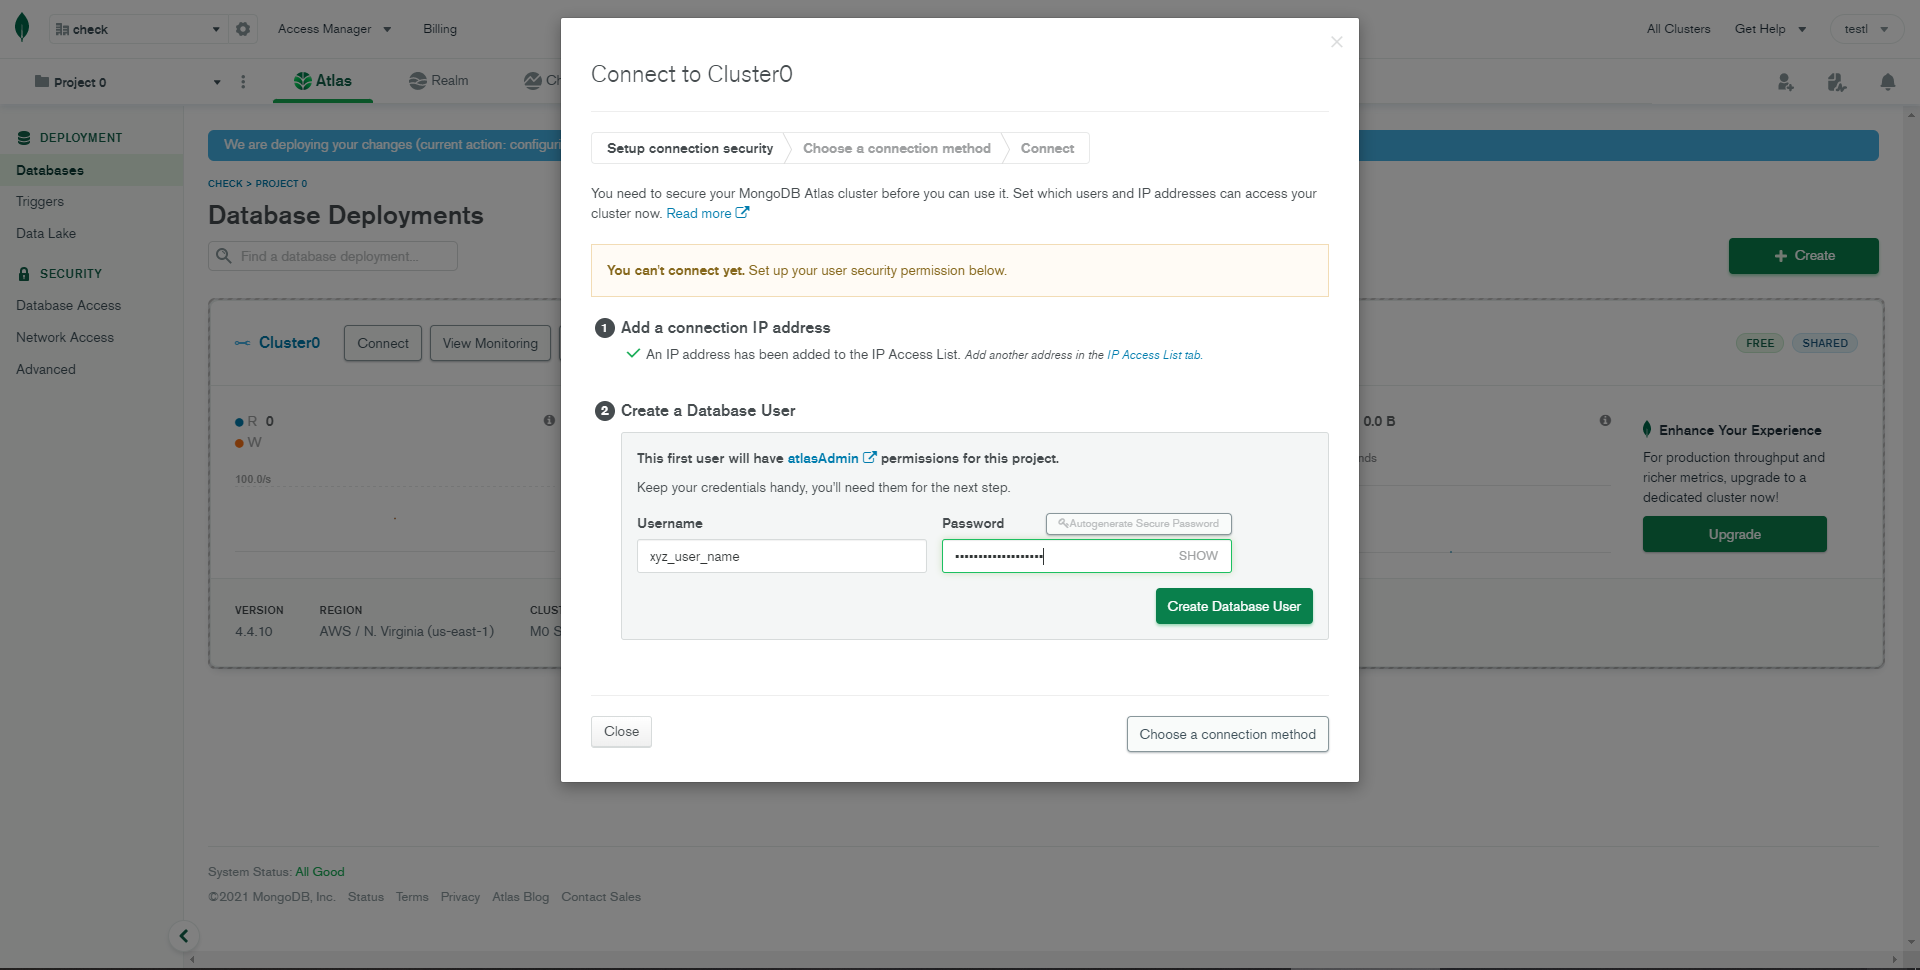
STEP-6: Select your current ip address and then create your username and password then click on create database.
STEP-7: After that, click on second option
"connect your application"(if you don't see any model then click on connect)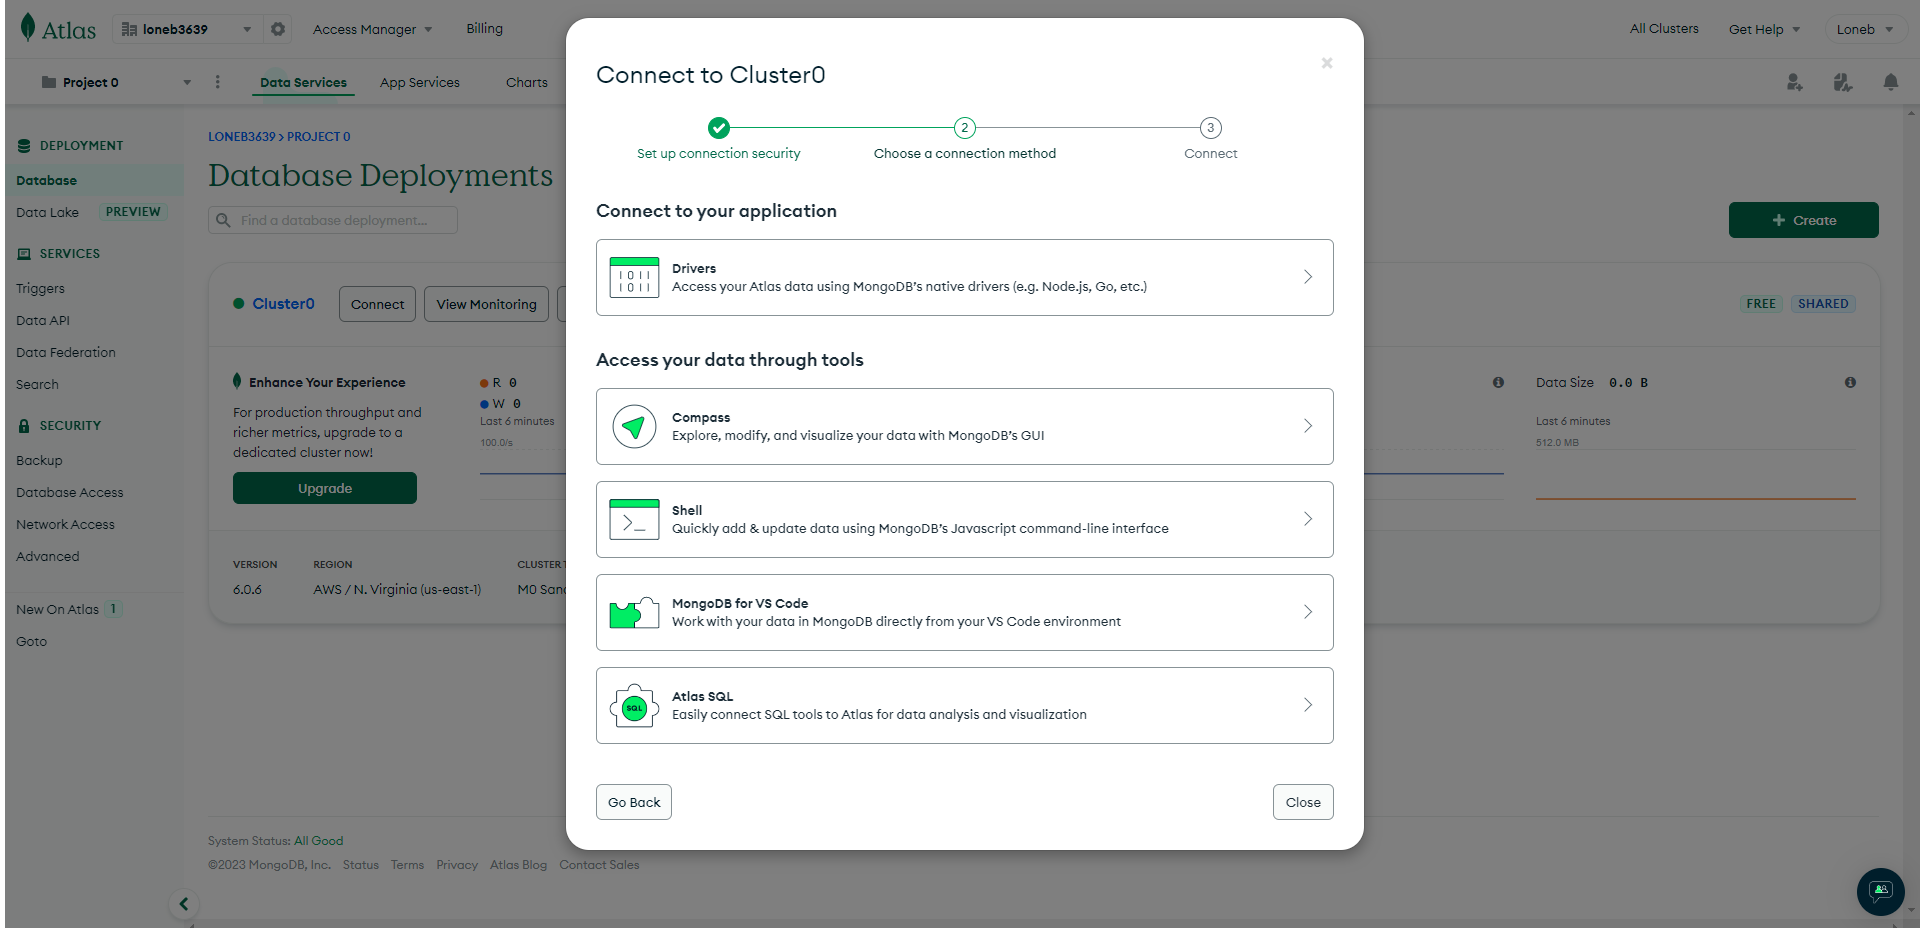
STEP-8: Now copy the given link and close the model
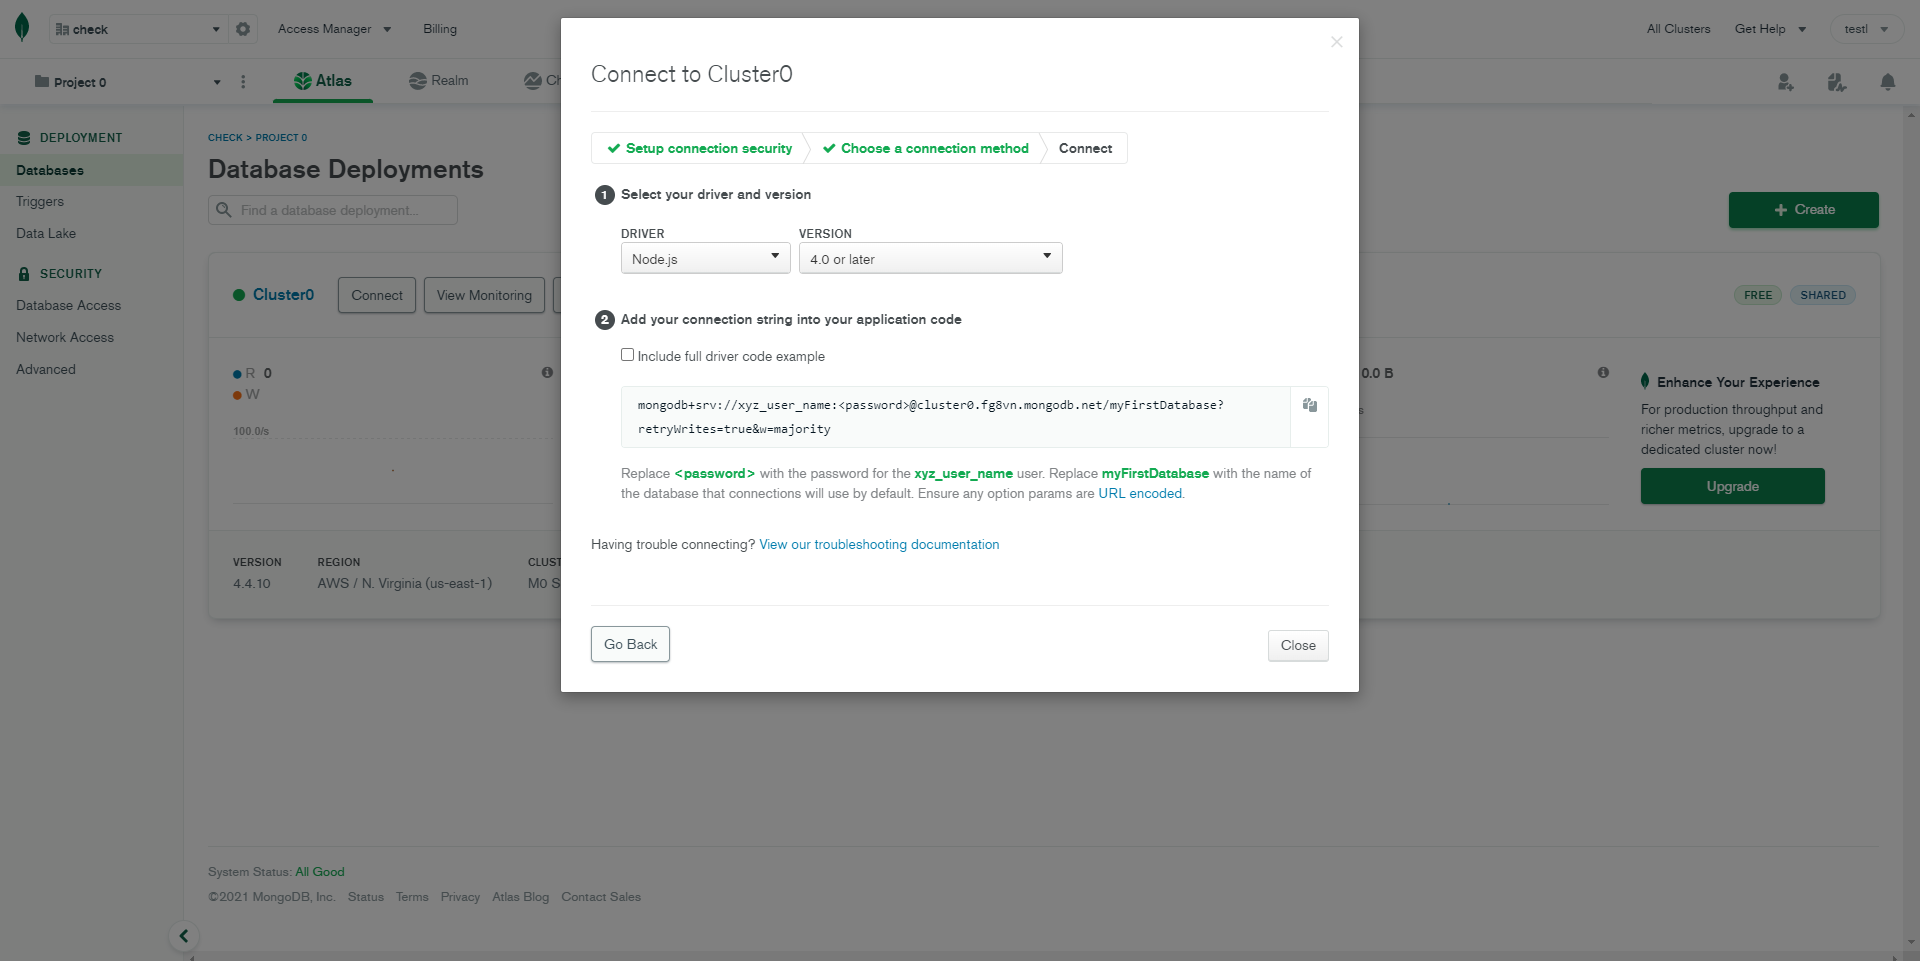
STEP-9: Now Open 'config.env' In Node API and then paste the link in
DATABASE=" "And then add your password inDATABASE_PASSWORD=" ".STEP-10: Now click on
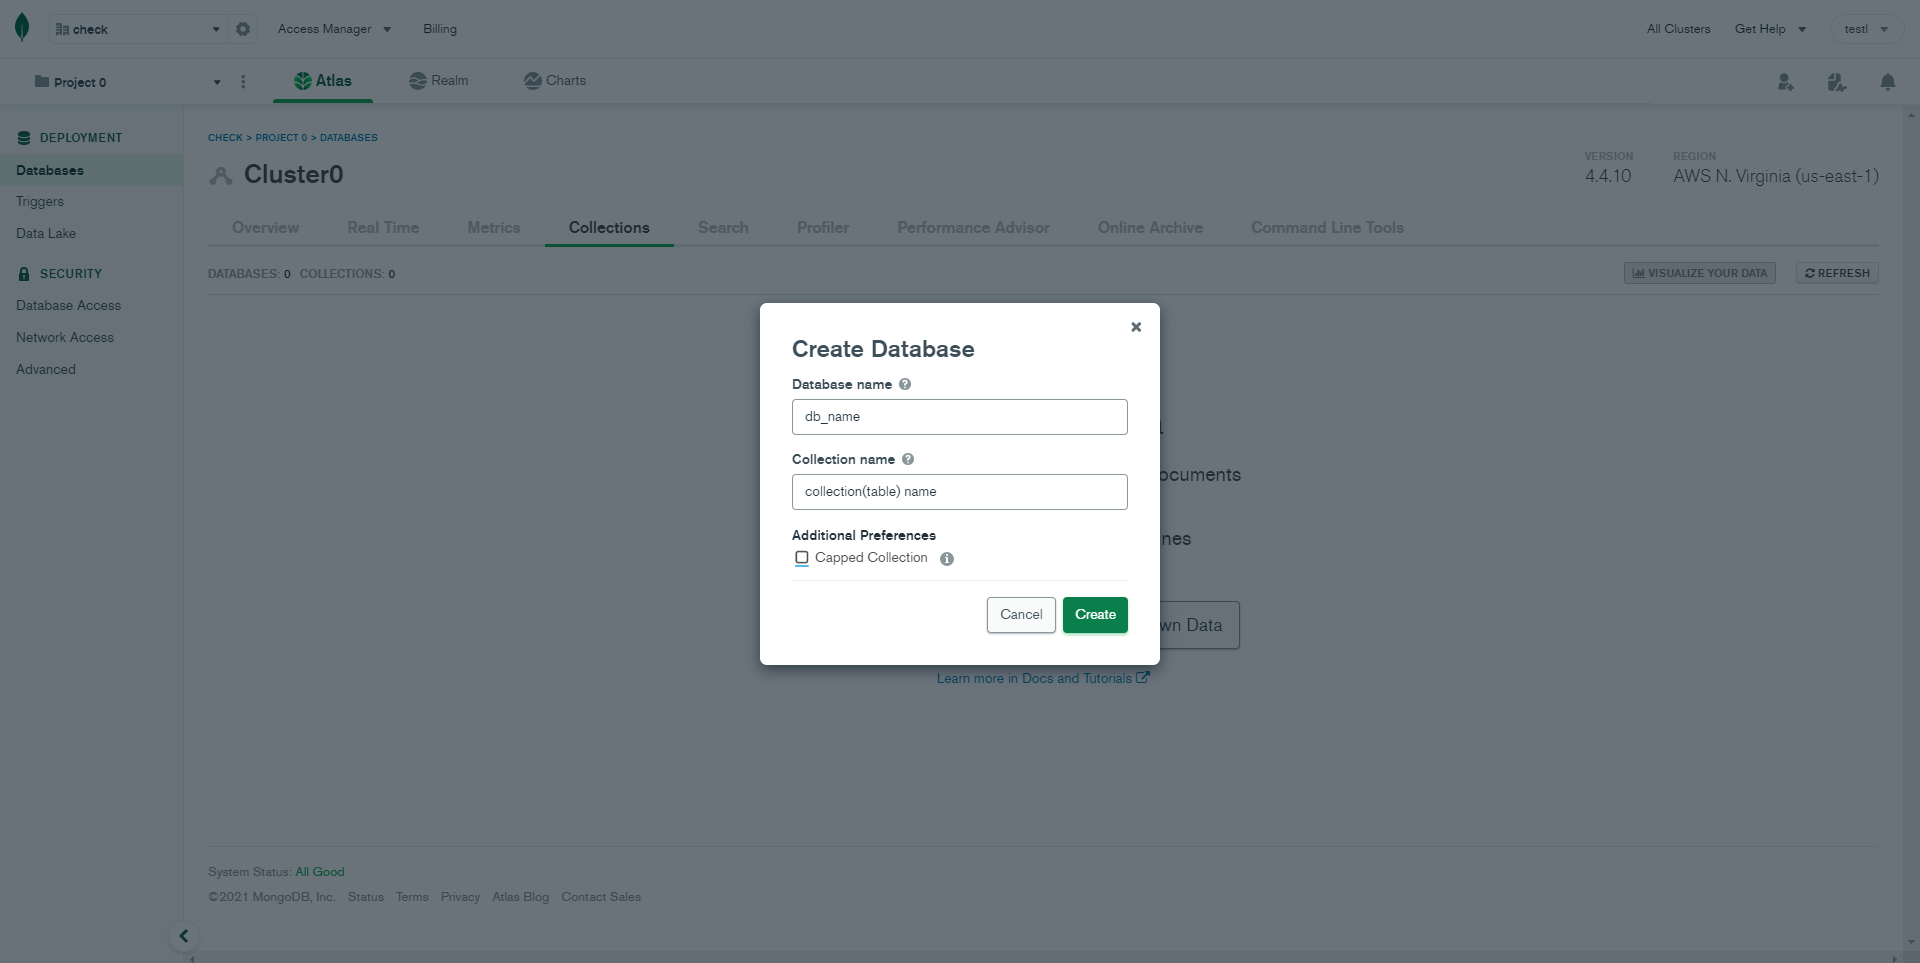
Collectionsand then clickAdd My Own Data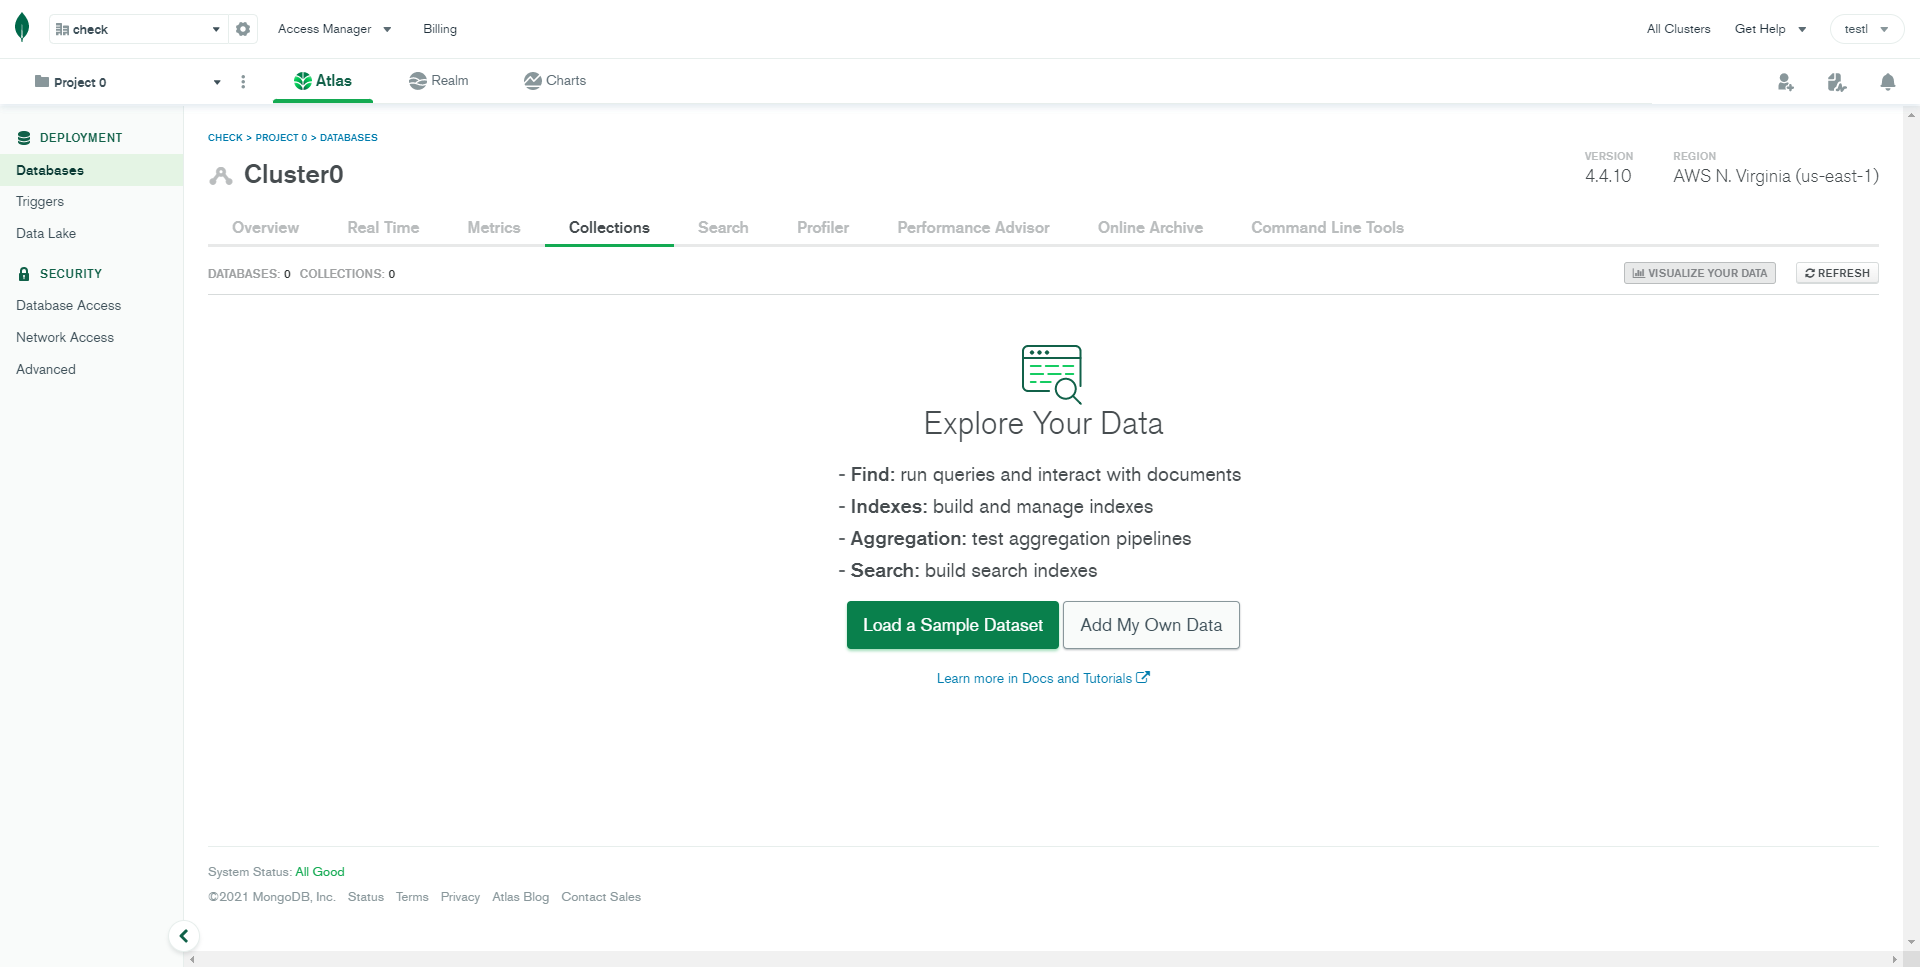
STEP-11: Then Enter your database name and collection(table) name