Quick Start
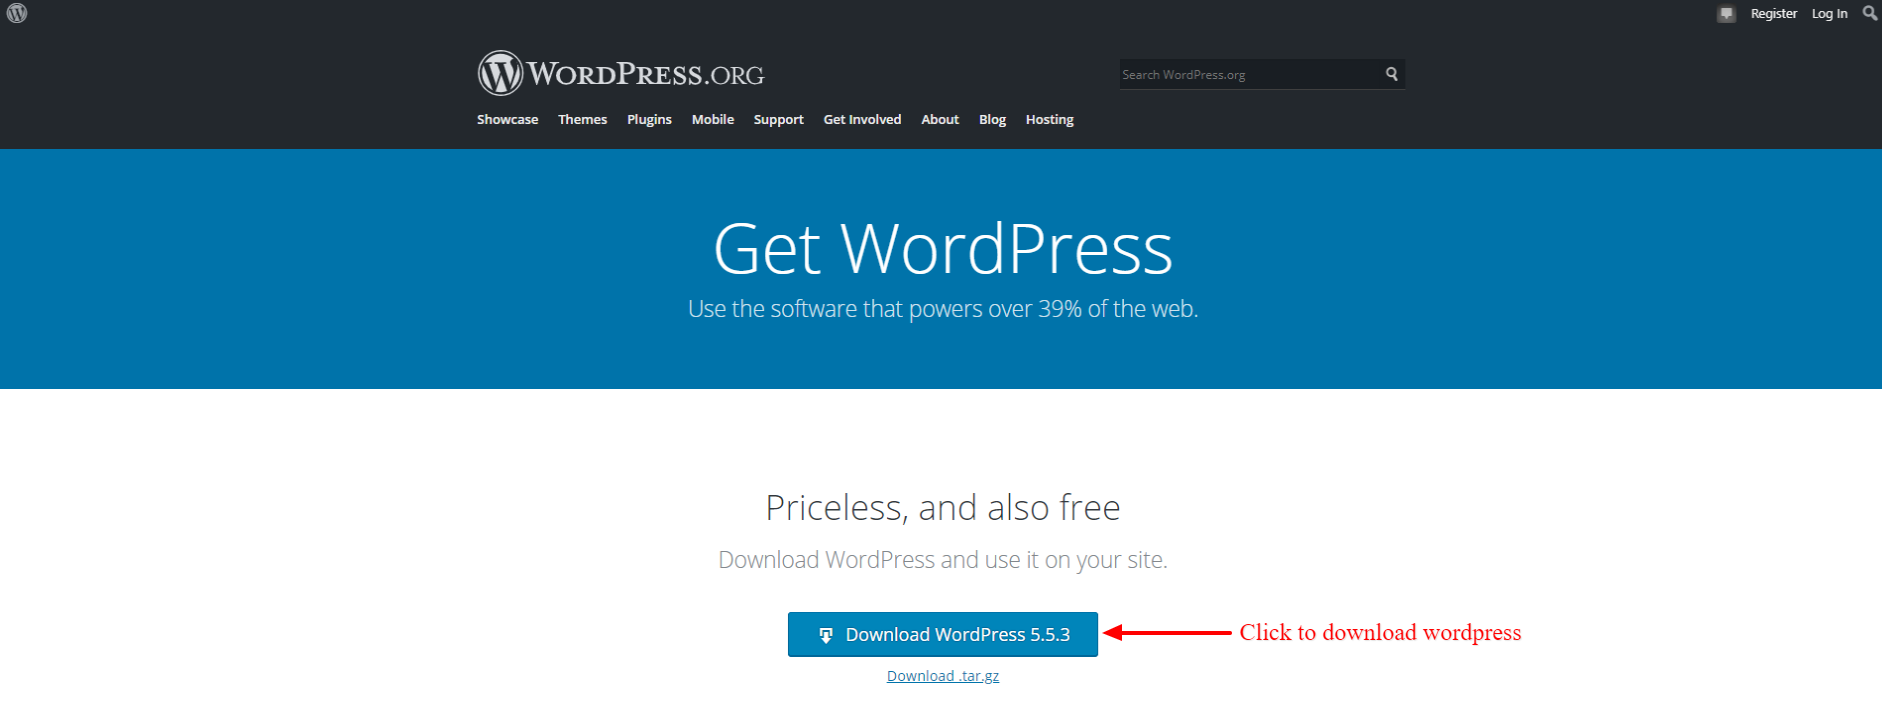
Download WordPress
Head over to WordPress official download site to get the latest version of WordPress
Installation
Step 1 : Extract the downloaded folder
WordPress comes in zipped format, so you first need to extract it. That should be fairly simple.
Step 2 : Copy the extracted folder to XAMPP registry
Since we are using Windows, copy the extracted folder to :
C:\xampp\htdocs
For Mac users, XAMPP registry takes this form:
Application/XAMPP/htdocs
Step 3 : Rename the folder
Though optional, we recommend you rename the folder. For this tutorial on WordPress localhost installation, we shall be renaming the folder to “testdemo”
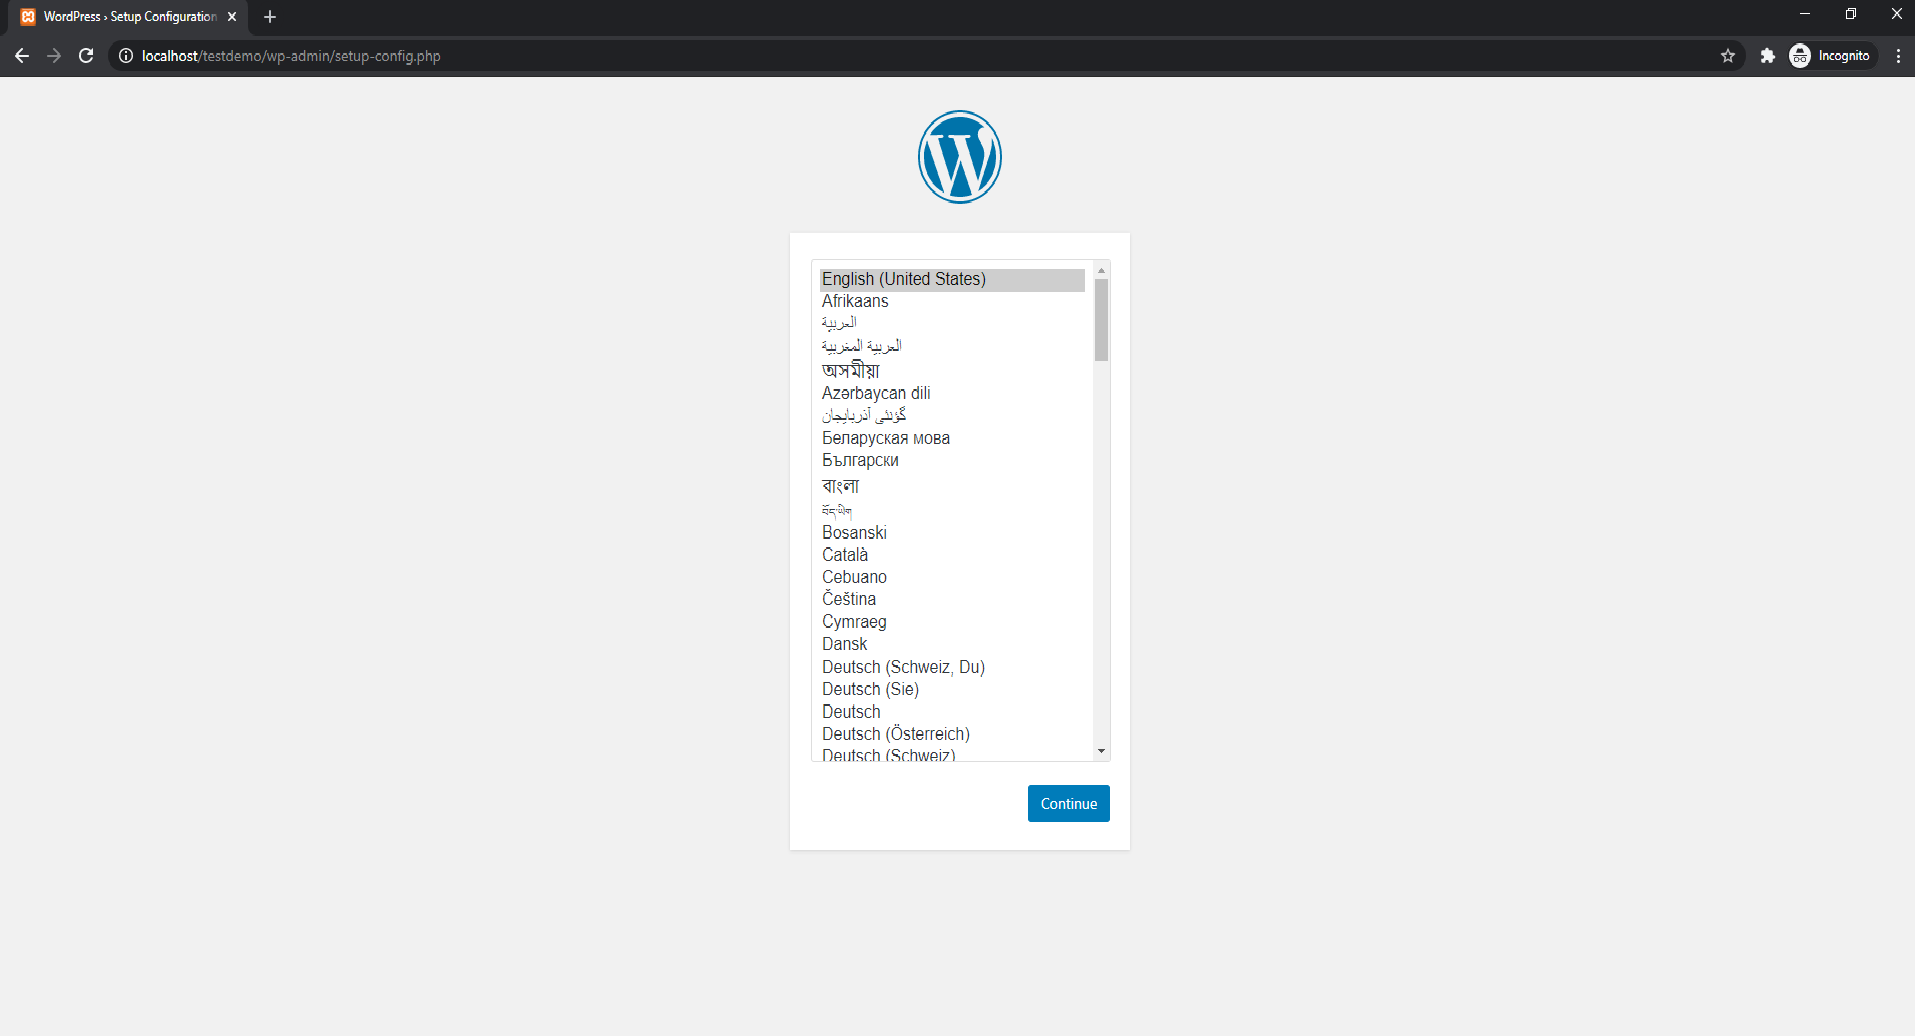
Step 4 : Launch website in browser
With XAMPP still running, open Google Chrome (or any browser of your choice). Type “localhost/testdemo” in the tab
Step 5 : Create a database
As you can see from the screenshot, a database is needed to run WordPress. So, let’s create one! To achieve this, head back to XAMPP, and in the MySQL section click Admin.
The localhost/phpmyadmin page on your browser would open. Click on Databases.
Type a name for your database. In this case we would be using the same name as the WordPress folder. Finally, click Create.
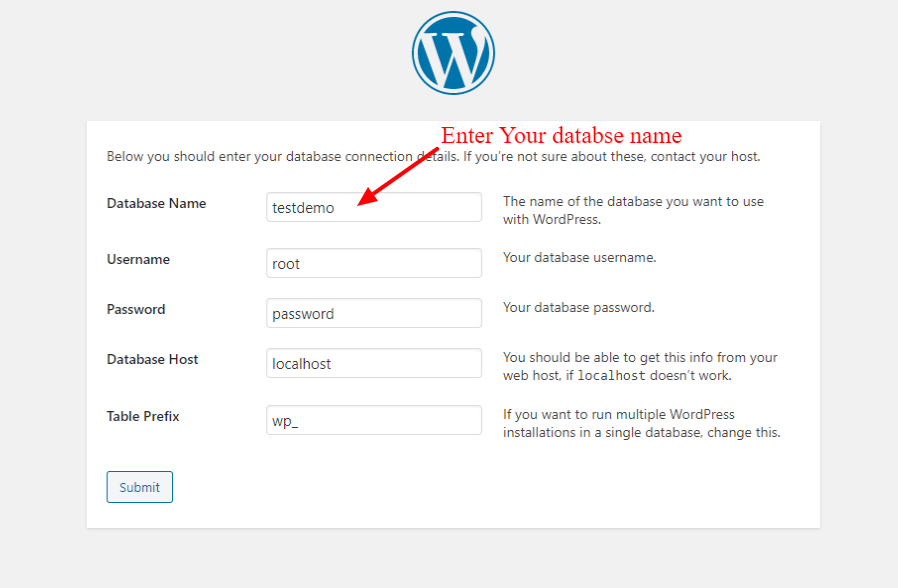
Now we have created our WordPress database, head back to the where we stopped in step 5. Click Let’s go. Fill out the input areas as follows:
Enter Your databse name and enter your database username and password after click on submit button.
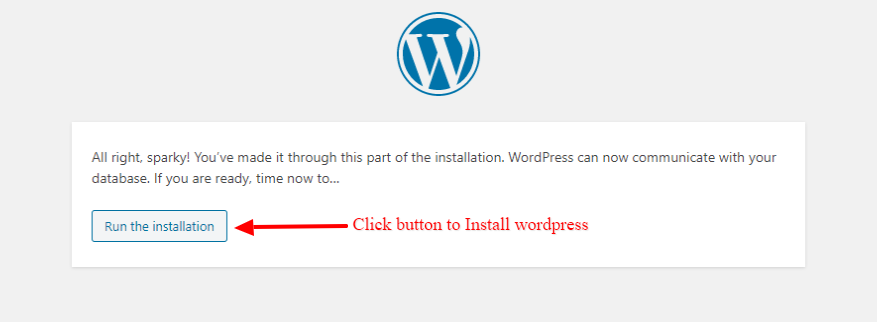
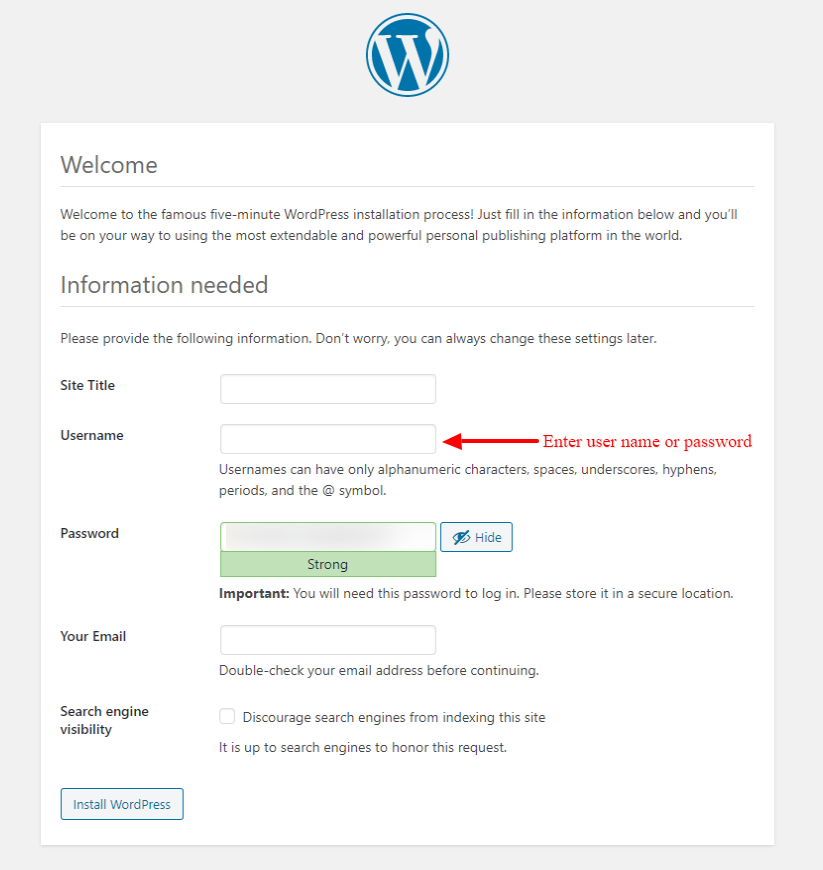
Fill Up Your Site Information like : Site Title, Create Username and Password, Email, Search Engine Visibility.
After installation, log in to your WordPress Dashboard and start developing, designing, or testing.